At Smith Performance Center, the home plan is a central feature of your rehabilitation experience. If you’ve worked with physical therapy in the past, you’ve probably been given a list of exercises to do on your own, most often called a ther-ex list or home exercise plan.
Our approach is different.
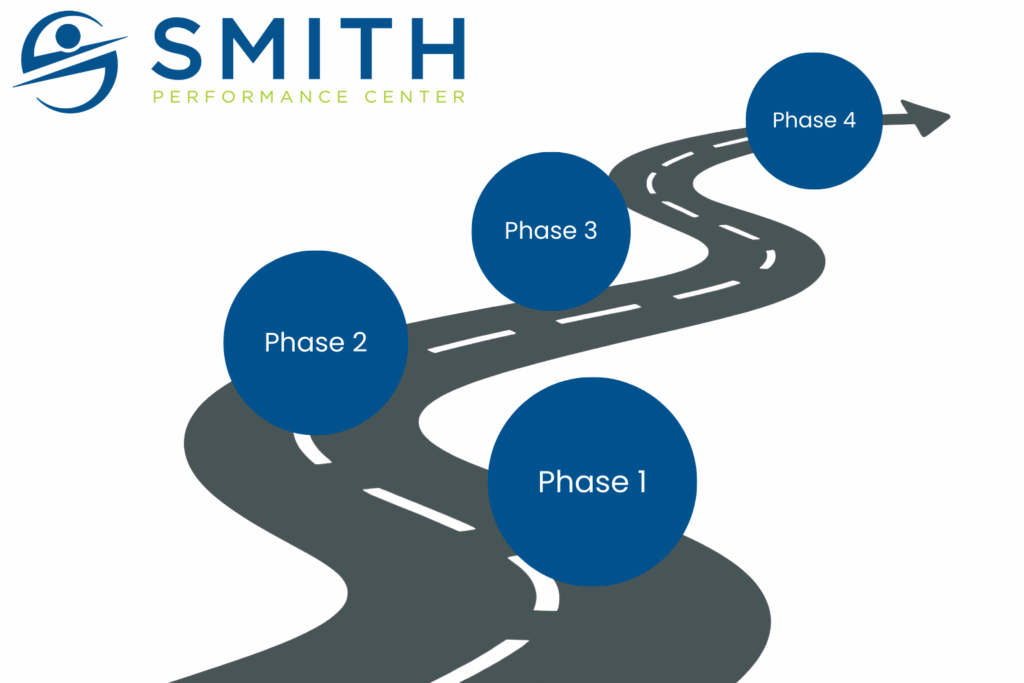
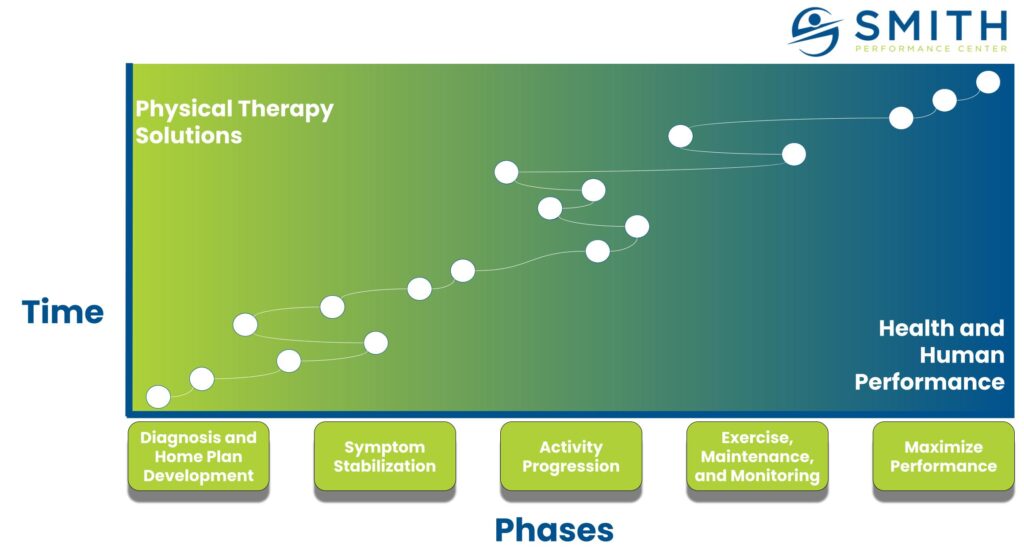
The purpose of your home plan isn’t just to give you something to do between visits — it’s to improve your tissue capacity and help you progress safely toward your goals. And the strategy often changes as you move from Phase 1, where we identify and outline what is causing your pain, to Phase 2, where you learn to manage your symptoms, to Phase 3, where we work to build your tissue capacity and progress your activity.
Learn more about this process in our article “What are the phases at Smith Performance Center?“
Why the Home Plan Matters
To build tissue capacity, we need to create what we call a therapeutic gap. This means the treatments and activities that improve your body’s resilience must outweigh the triggers that lower it. Your home plan is the bridge that makes this possible.
After each session, you’ll receive an updated home plan by email. This plan is tailored specifically to you and is created through collaboration between you and your therapist.
What You’ll Find in Your Home Plan
Each plan includes several key sections. Based on your needs, some may be emphasized while others might not be necessary at a given stage of your recovery.
1. Special Communication
Your therapist will include notes, specific instructions, or ideas that relate directly to your problem. This section helps connect what you worked on in the clinic to what you need to focus on at home.
2. Key Signs
Key signs are feedback tools you can use for self-testing. For example, if you’re dealing with back pain but don’t know what’s causing it, a key sign might be a simple movement test that helps you figure out whether your plan is working. Instead of waiting for pain to build, you’ll have a faster feedback loop to know what’s helping — and you and your therapist can make decisions more quickly.
3. Trigger Management
Triggers are the activities, positions, or situations that make your symptoms worse. They can be obvious (like running causes knee pain) or hidden (like poor sleep or prolonged sitting). Your plan will guide you to monitor, modify, or eliminate these triggers so your healing process isn’t derailed. (For example, adjusting your sitting position at work may reduce flare-ups.)
Why Trigger Management Matters
How to Overcome Hidden Triggers
4. Exercise, Maintenance, and Activities
This section includes the first real “treatments” you’ll use to build tissue capacity. These may range from tools you can use yourself, like gentle self-massage or traction for the injured tissue, to activation drills and movement retraining. The goal is to give your body the right dose of activity without overwhelming it.
5. Bracing and Taping
Sometimes external support is needed to manage triggers and allow for appropriate loading. Your plan will explain how and when to use these tools effectively.
Bracing, Taping and Training Aids
6. Other Home Plan Information
This is a flexible area where your therapist can add any additional ideas, notes, or instructions specific to your progress.
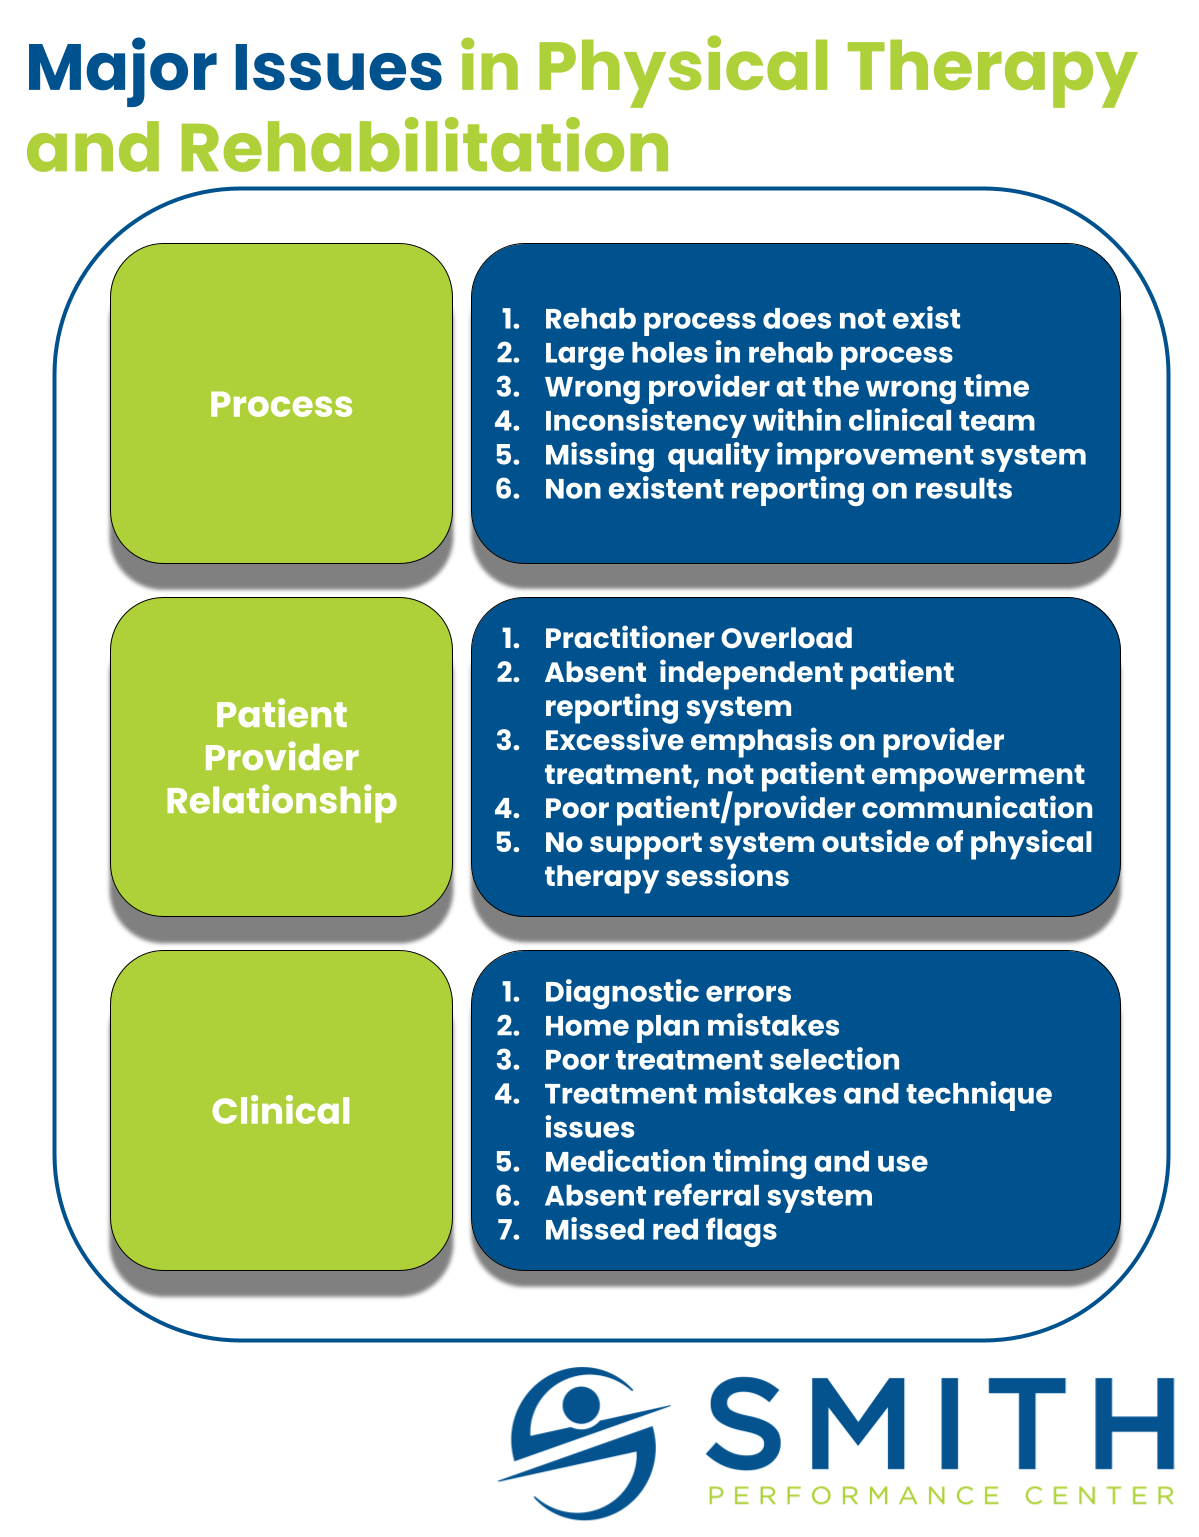
Why your home plan is not working
The Big Picture
The home plan is more than a list of exercises — it’s your personal roadmap for recovery. It ties together treatment, feedback, and real-world activity so that you can build capacity, manage setbacks, and steadily move forward.
Every session, your plan evolves with you. By following it closely and communicating with your therapist, you’re not just doing homework — you’re taking charge of your recovery.
Our team would love to help you with this process. If you have questions or need to schedule your next appoint, use the link.